Obsidian is a powerful note-taking app, perfect as a personal knowledge management system. This article will show you how to self-host Obsidian and set up seamless synchronization between all your devices. While the “Obsidian Sync” feature is a paid premium feature (around $4 per month), this guide shows you how to achieve similar functionality for free through self-hosting. While this requires a bit more technical know-how, it gives you full control over your data and saves costs in the long run.
Why Obsidian?
Obsidian offers numerous advantages for organizing knowledge and ideas:
- Flexibility: The software stores notes as Markdown files, so you can export or edit your data at any time.
- Extensibility: Thanks to a large selection of plugins, you can customize Obsidian to your individual needs.
- Visual Representation: The graph view allows you to clearly display connections between notes.
- Self-Hosting: With the right configuration, you retain full control over your data.
Step-by-Step Guide: Installation and Setup
1. Set Up CouchDB Container
Create a docker-compose.yml file with the following content:
services:
  couchdb-obsidian-livesync:
    container_name: obsidian-livesync
    image: couchdb:3.3.3
    environment:
      - PUID=99
      - PGID=100
      - UMASK=0022
      - TZ=Europe/Berlin
      - COUCHDB_USER=obsidian_user
      - COUCHDB_PASSWORD=YourSecurePassword
    volumes:
      - /path/to/your/data/directory:/opt/couchdb/data
      - /path/to/your/config/directory:/opt/couchdb/etc/local.d
    ports:
      - "5984:5984"
    restart: unless-stopped
Start the container with:
docker-compose up -d2. Configure CouchDB
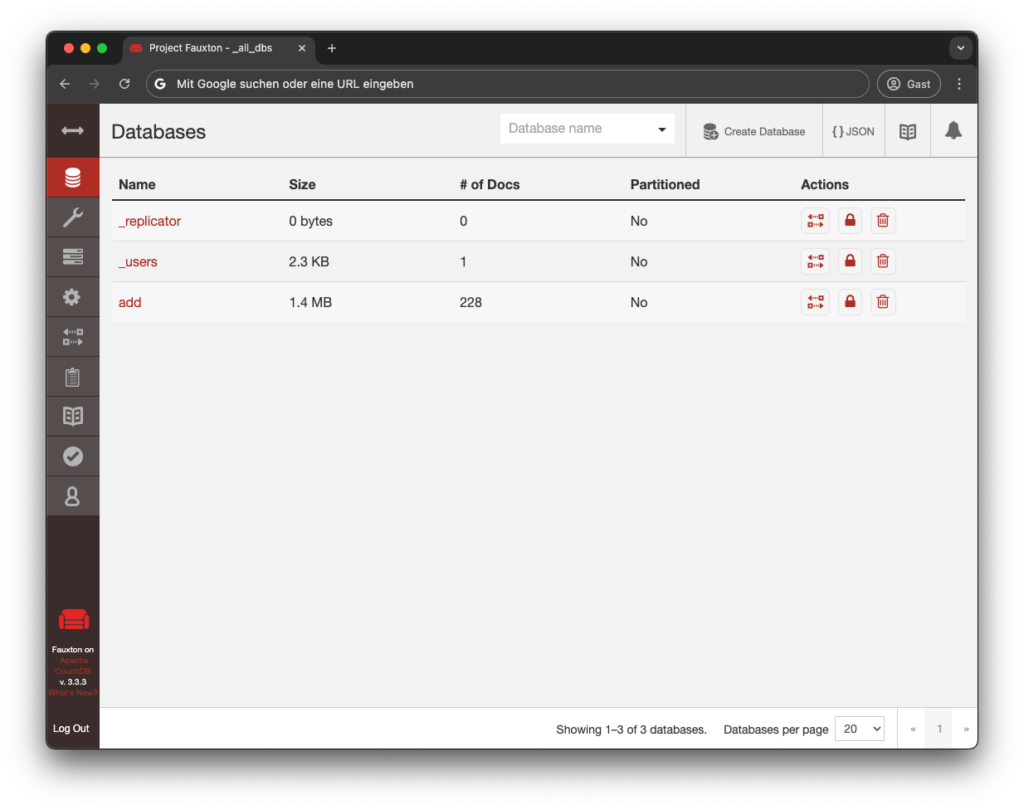
Open the CouchDB admin page: http://YourServerIP:5984/_utils
Log in with the credentials specified in the Docker Compose file.
Click on “Setup” and then on “Configure as Single Node”.
3. Verify Installation
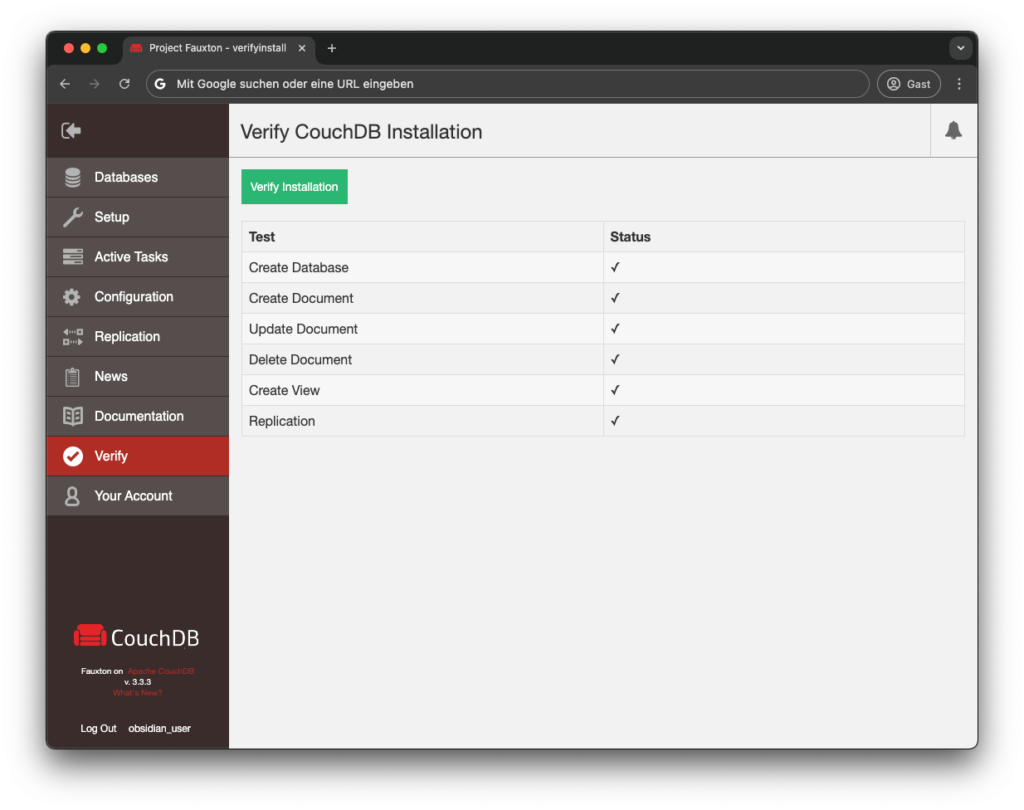
In the side menu on the right, you will find the “Verify” menu item, which you can use to check whether everything has been installed correctly.
4. Create database
In the left menu under “Databases”, click on “Create Database”.
Enter the name of your database under “Database Name”, e.g., obsidiandb.
Tip: If you want to use this setup for multiple users, we recommend including the user’s name in the database name, e.g., obsidiandb_max or obsidiandb_moritz. This makes administration easier in the future.
Under “Partitioning”, select “Non-partitioned (recommended for most workloads)”.
5. CouchDB Configuration
Click on “Configuration” in the left main menu.
Manually add the following 9 configuration options by clicking on “+ Add Option” in the top right:
| Section | Name | Value |
| chttpd | require_valid_user | true |
| chttpd_auth | require_valid_user | true |
httpd | WWW-Authenticate | Basic realm=”couchdb” |
| httpd | enable_cors | true |
| chttpd | enable_cors | true |
| chttpd | max_http_request_size | 4294967296 |
| couchdb | max_document_size | 50000000 |
| cors | credentials | true |
| cors | origins | app://obsidian.md,capacitor://localhost,http://localhost |
With these steps, your CouchDB is fully set up and ready for use with Obsidian LiveSync!
6. Set Up Obsidia
Install Obsidian on your devices.
Create a new Vault.
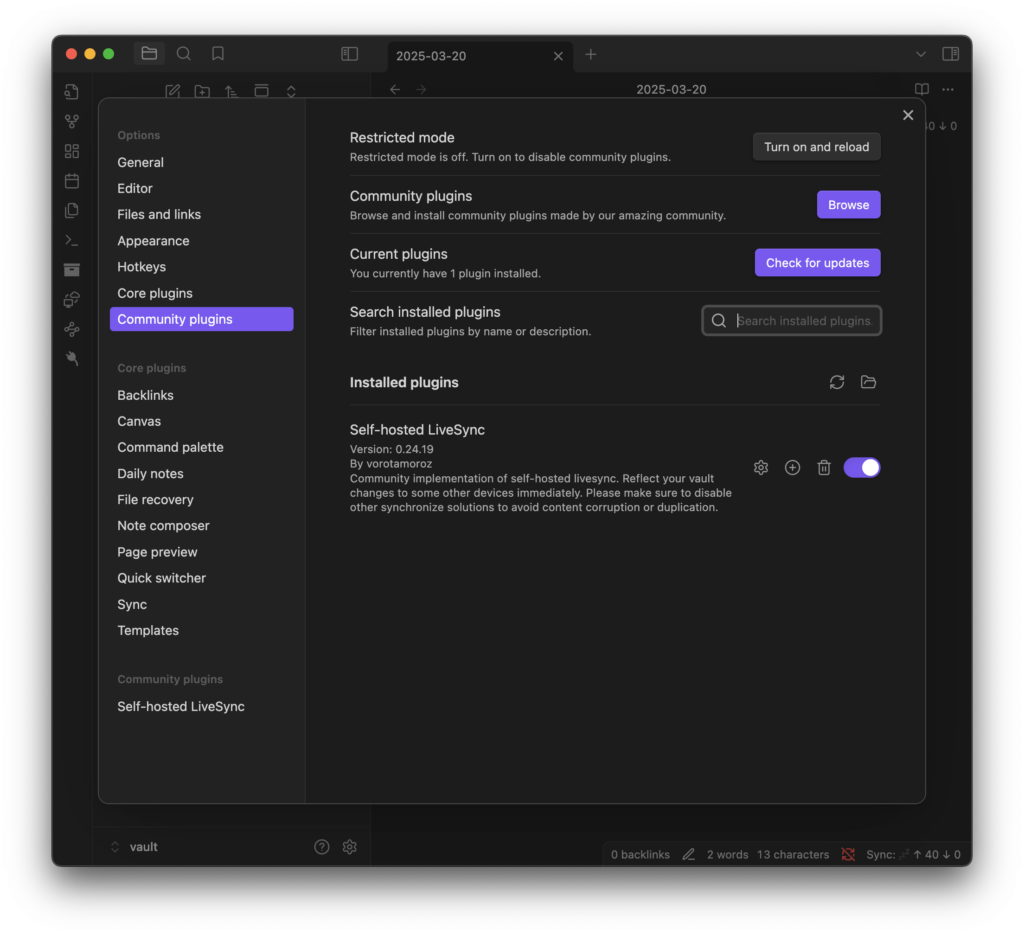
Click on the gear icon to get to the settings and navigate to the “Community Plugins”.
Install the “Self-hosted LiveSync” Plugin.
7. Configure LiveSync
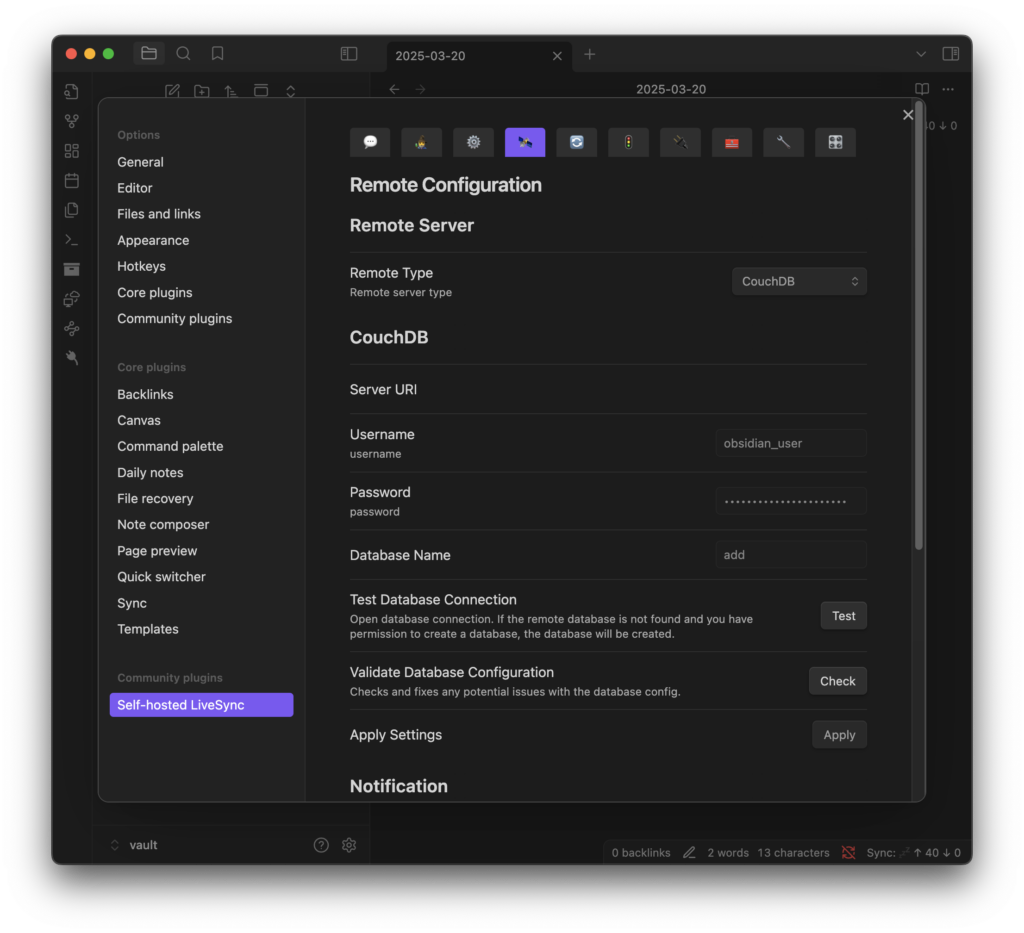
Open the LiveSync settings in Obsidian.
Enter the CouchDB connection details:
- URI:
http://YourServerIP:5984 - Username and password as specified in the Docker Compose file
- Database name:
"obsidiandb"
Test the connection and apply the settings.
Optionally enable end-to-end encryption.
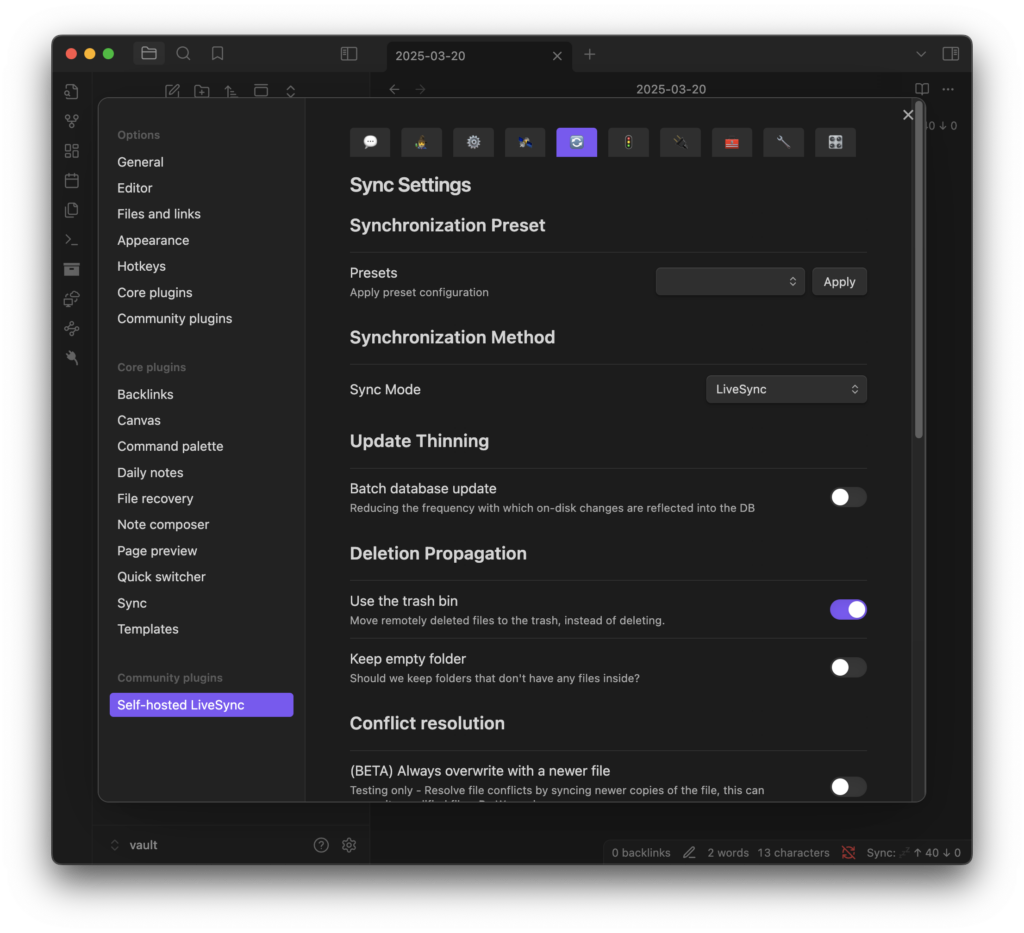
8. Enable Live Sync
Select “LiveSync” as the synchronization mode.
9. Enable Access via Reverse Proxy
To access your Obsidian notes from outside the local network, you can use a reverse proxy. The configuration depends heavily on the software used. Here is an example for Caddy:
obsidian.example.com {
    reverse_proxy IPdesServers:5984
}
What Can You Do With Obsidian?
Obsidian is more than just a note-taking app – it’s a versatile tool for knowledge management and productivity. Here are some specific use cases:
- Personal Knowledge Management
Use Obsidian as a “Second Brain” to store and link thoughts, ideas, and information. Thanks to internal links, a dynamic network of your notes is created.
Example: A student creates notes on various subjects and links them together. The graph view visually shows the relationships between the topics.
- Project Management with Kanban
With the Kanban plugin, projects can be organized in a structured way. Tasks can be easily moved between different statuses.
Example: A team leader organizes tasks in a Kanban board directly in Obsidian to keep track of the project’s progress.
- Visual Idea Collection with Canvas
The canvas function makes it possible to visually connect notes with each other – ideal for brainstorming or planning complex projects.
Example: A designer uses Canvas to graphically represent and link ideas for a new product concept.
Conclusion
Obsidian is a powerful tool for knowledge management, characterized by flexibility and extensibility. Installation via Docker Compose is simple and enables quick setup of your own instance. Use the diverse functions of Obsidian – be it for personal organization, project management, or creative brainstorming.
Start your knowledge management with Obsidian now!

Project Manager, Lead Dev
