Securing your data is of crucial importance, especially in a digital world where information can be quickly lost. The Synology NAS offers an efficient way to protect your valuable data. In this blog post, we will focus on how you can use the Time Machine feature for complete backups of your Apple Macs to secure your data on the Synology NAS or restore your entire Mac.
Preparing the Synology NAS:
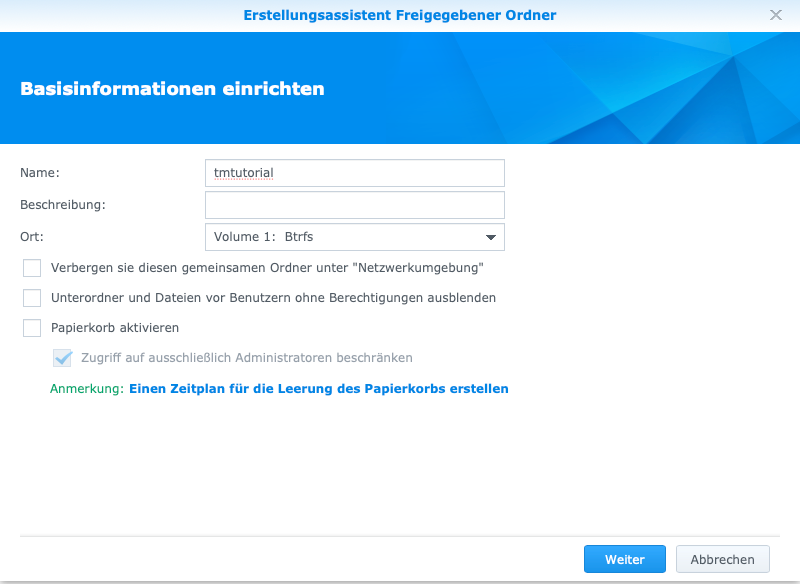
First, you should create a new shared folder for your Time Machine backups. To do this, log in as an administrator on your Synology.
- Click on Create under Control Panel -> Shared Folder.
- Select Name and Location
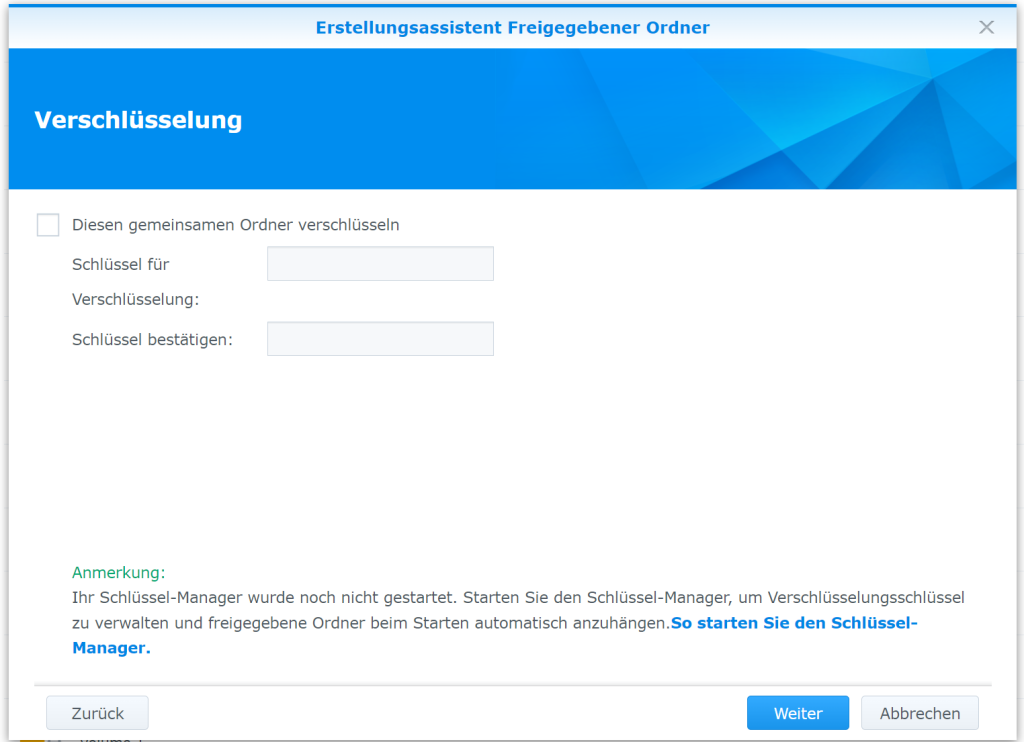
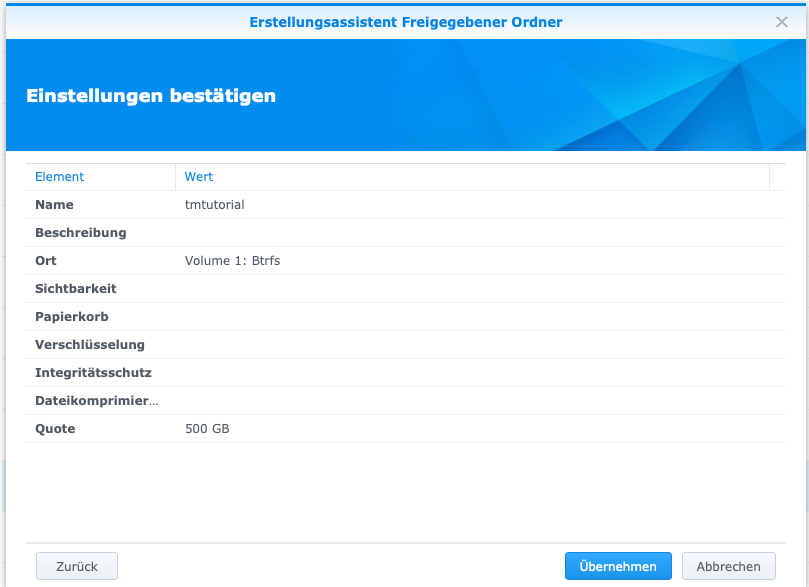
3. You should set up encryption via your Mac. Time Machine offers this option optionally.
4. We recommend enabling and assigning Quota or folder quota, as Time Machine would otherwise use the entire hard drive of the NAS.
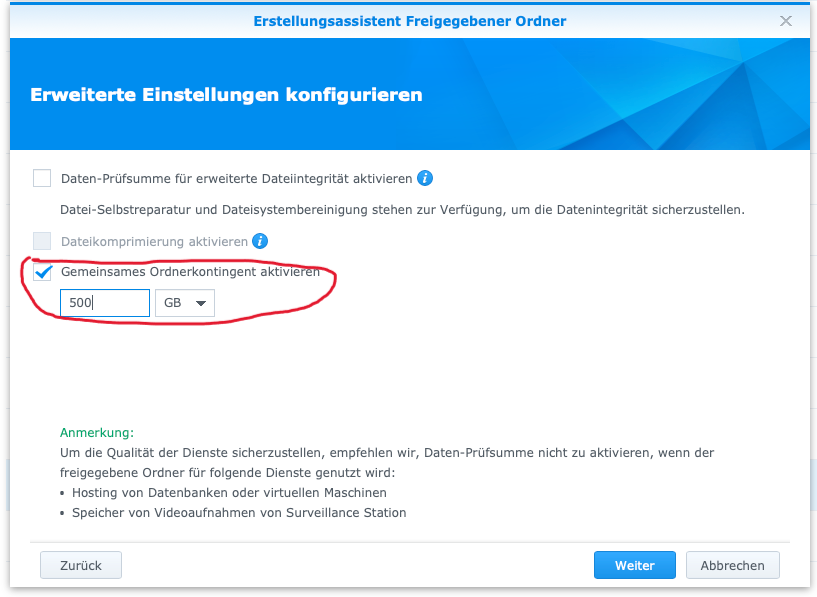
5. Complete the setup and press “Apply”.
Activating the Time Machine Feature:
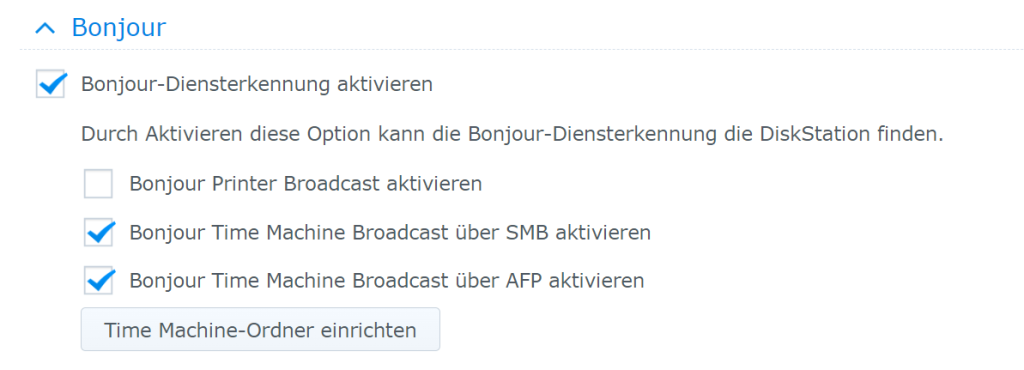
- Navigate to “File Services” and select “Advanced”.
- Enable the Bonjour service discovery as shown in the image below for the newly created folder “tmtutorial”.
Creating a Time Machine User:
If there are no NAS users available for the Macs you want to back up, it is advisable to create a dedicated Time Machine user whose permissions are limited to the Time Machine folder.
- Go to “System Preferences” and select “Users”.
- Click on “Create” and create a special user for Time Machine backups with sufficient permissions.
Configuring Time Machine on Your Mac:
Now we configure the Time Machine backup on the Mac:
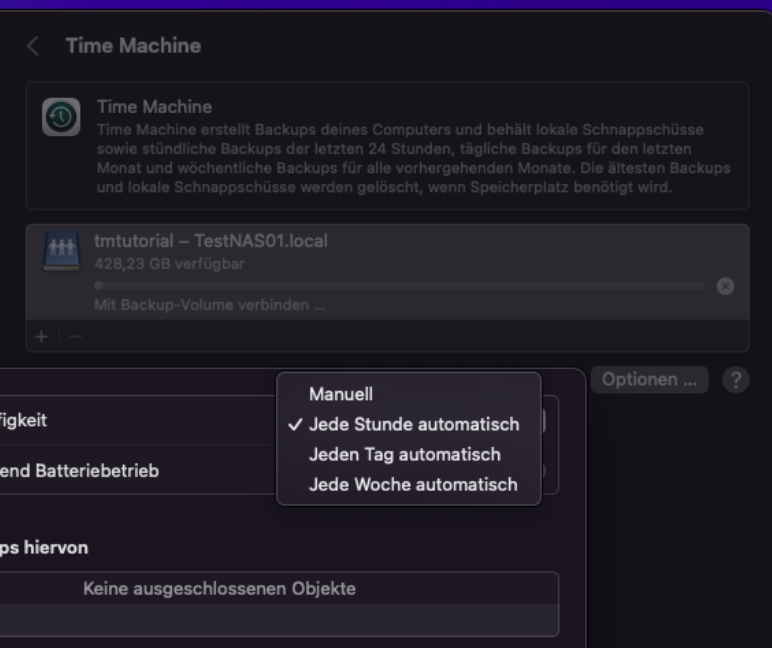
- Go to “System Preferences” on your Mac and select “Time Machine”.
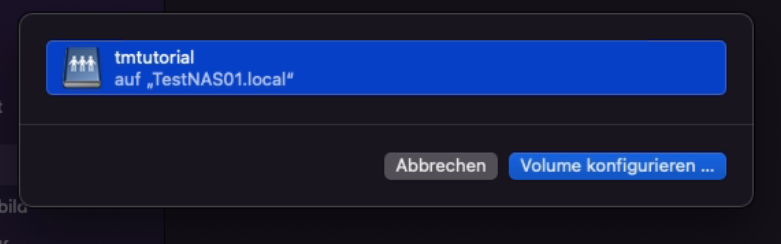
- Click on “Add Backup Volume..” and select your Synology NAS and choose configure volume…
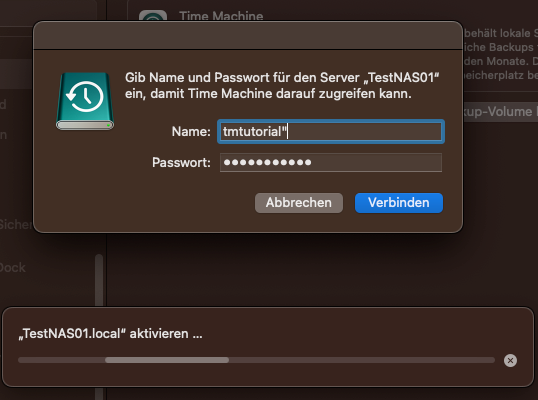
- Enter the login credentials of the previously created Time Machine user and press connect.
Here you can optionally select encryption, but make sure to keep your password safe or preferably store it in a Password Manager, so you can still access your data in case of an error.
Start Your First Time Machine Backup:
Now you can determine the backup frequency under options or start your first backup.
Conclusion:
Setting up Time Machine backups on your Synology NAS is a crucial step to ensure the security of your data. With this guide, you should be able to successfully configure this feature and benefit from regular, automated backups. Remember to regularly check the status of your backups to ensure that your data is always well protected.
Find more interesting articles and topics on our website or here on our Blog.
If you need help setting up your backups on your Synology NAS or other server environments, feel free to contact us without obligation. You can find our contact details here.
